
Drawing techniques: freehand, oblique and perspective
Freehand sketches, crating, oblique and isometric drawing, one- and two-point perspective and shading. Read one part at a time and tap “I know this”. Then test yourself in the quiz.
Know it already? Jump straight to the quiz
Oblique and isometric
- Use a 45° set square for oblique depth lines. In cabinet oblique you draw the depth at half length, so it does not look too deep.
- Isometric dot paper helps you draw 30° lines neatly.
- On squared paper: draw the front face along the grid lines in its true shape, then draw each depth line diagonally through the corners of the squares (that diagonal is 45°). Join the ends and darken the visible edges.
- Need to show a cereal box quickly, without instruments? A freehand oblique or isometric sketch.
Perspective and shading
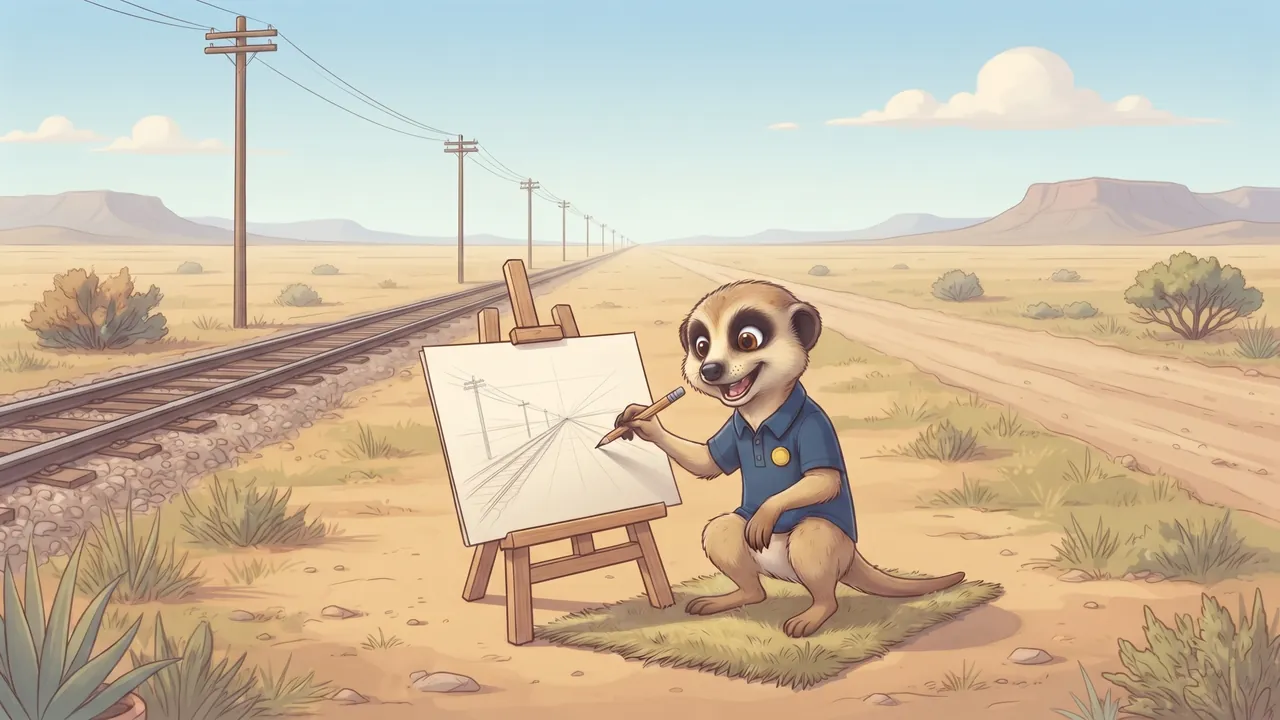
- The horizon line is at the viewer’s eye level. One-point: a straight road fading into the distance. Two-point: you look from a corner.
- An architect shows a client the house from the street corner in two-point perspective; a factory gets a working drawing with dimensions.
- Shading shows light so it looks solid. Light from the top left: the right side is darkest.
A box in one-point perspective, step by step:
- Draw the horizon line and mark one vanishing point on it.
- Draw the front face in its true shape (a square or rectangle).
- Join each corner of the front face to the vanishing point with light construction lines.
- Decide how deep the box is and draw the back edges parallel to the front edges: horizontal lines stay horizontal, upright lines stay upright.
- Rub out the construction lines you don’t need, darken the outlines and add shading, texture and colour.

Keep the vanishing points far apart, or your box looks stretched and distorted.
Remember this and test yourself
- A freehand sketch is quick, without a ruler; start with light construction lines.
- Crating: draw a box first, then the shape inside it.
- Oblique: front flat (a circle stays a true circle). Isometric: a corner at the front, edges at 30°.
- Two-point perspective: two vanishing points far apart on the horizon line; upright edges stay upright.
- Below the horizon line you see the top; above the horizon line the underside.
Write these points in your book. Read them again the night before the test.

Low below the horizon? You look down on the top. High above? You look up at the underside.
Important words
First say what the word means, then turn the card over.
Match column A to column B
Tap a word in column A, then its meaning in column B. You can also start in column B.
True or false?
Read the question and the answer. Is the answer right? Tap True or False.

Now the real quiz!
The quiz has many more questions on this topic. Every question shows straight away whether you are right and explains why.
Take the quiz: Drawing techniques: freehand, oblique and perspective- Read one part together and ask your child to tell it back in their own words.
- The ticks (“I know this”) are saved on this device only. We never ask for names or emails.
Follows CAPS for Grade 7 Technology (Technology). Always check your teacher’s notes and textbook too.